Create Your Own Guitar Drawing - A Simple Guide
Have you ever felt a little tug, a quiet wish to create something beautiful with your own hands, perhaps a lovely picture of a musical instrument? Maybe you’ve seen a guitar, with its graceful curves and inviting presence, and thought, "I would really like to capture that on paper." Well, you are certainly not alone in that feeling. Many people find themselves drawn to the idea of bringing a guitar to life through art.
For some, the thought of putting pencil to paper can feel a bit like a big task, especially if they don't think of themselves as an artist. But the truth is, making a picture of a guitar does not have to be a hard thing at all. It can actually be quite a pleasant and calm activity, something you can enjoy doing at your own speed, you know, just taking your time with it.
This little guide is here to show you how simple it can be to make a picture of a guitar. We'll go through the steps together, making sure each part feels easy to do. It's all about making the process a nice one, so you can feel good about what you are creating, actually.
Table of Contents
- Starting Your Guitar Drawing Adventure
- Adding the Essential Parts to Your Guitar Drawing
- Making Your Guitar Drawing Truly Yours
Starting Your Guitar Drawing Adventure
How Do You Begin a Guitar Drawing?
When you're ready to put your initial marks down for a guitar picture, the very first thing to consider is the main part, the body of the instrument. It's often helpful to think of this as a big, friendly shape. You could, for instance, begin by putting down the basic outline of something like an egg, or maybe even a pear, if that feels more natural to your hand. Some people find it easier, too, to start by making two round shapes, one a bit bigger than the other, placed next to each other, so it's almost like you are building it from simple parts.
These simple shapes are just a starting point, a gentle suggestion of where the guitar's main section will sit on your paper. They help you get the overall size and placement right without having to worry about perfect lines right away. It's a way to sort of warm up your hand and eye, getting ready for the more detailed work that comes later, you know, just getting into the swing of things.
The idea here is to keep it loose and not too stiff. You are just feeling out the form, making light marks that can be changed or erased without much fuss. Think of it as a very first whisper of the guitar's presence on your page. This initial stage is quite forgiving, allowing you to adjust things until the basic form feels right to you, really.
Shaping the Heart of Your Guitar Drawing
Once you have those initial, basic forms laid down, whether it's an egg-like shape or those two side-by-side round figures, you can begin to join them up and smooth out the edges. This is where your guitar's main body truly starts to take on its familiar appearance. You'll want to make sure the lines you create are flowing and balanced, giving the instrument its characteristic graceful look. It’s about making those curves feel just right, like a real guitar, you know.
Think about the way a real guitar feels in your hands, how its curves fit comfortably. You want to bring that same sense of balance and ease to your picture. It's not about being absolutely perfect from the start, but rather about letting your hand move freely and adjusting as you go. You might find yourself making a few light strokes, then stepping back to see how the overall form is coming along, that is just part of the fun.
This part of the process is a bit like sculpting with your pencil. You are gently guiding the form into being, making sure that one side looks pretty much like the other, so it has a pleasing look. It is about creating a sense of calm and order in your picture, which, in some respects, is a very rewarding feeling as you see your guitar taking shape.
Adding the Essential Parts to Your Guitar Drawing
What Comes After the Main Body in Your Guitar Drawing?
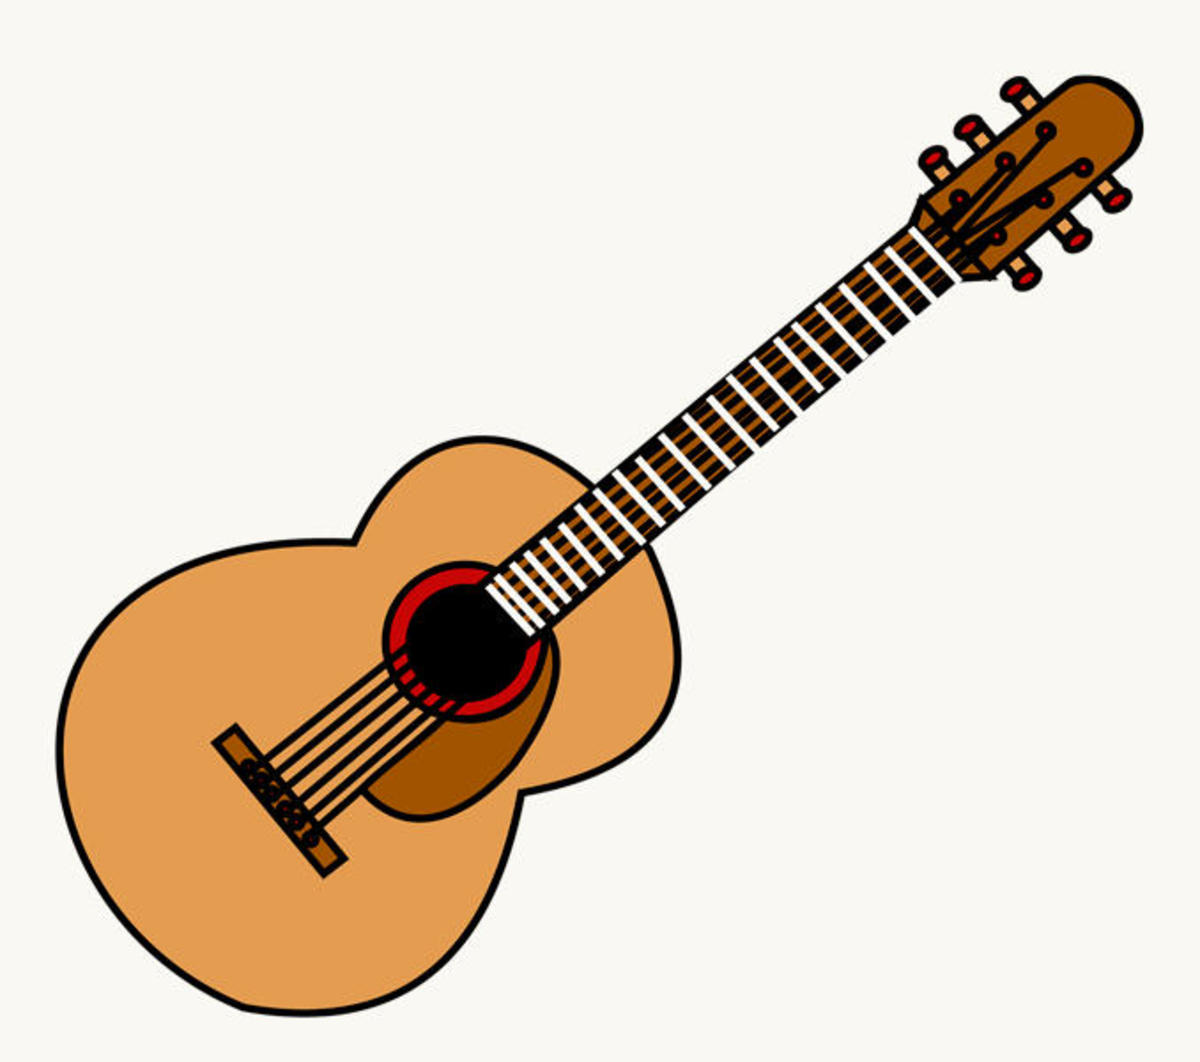
After you have the main section of your guitar looking good, the next step is to give it a neck. This part extends up from the body, and it's where the musician's fingers would move to create different sounds. You'll want to make a long, gently curving line that goes from the top of the body all the way down to the bottom. This line helps to define the whole length of the instrument, you see.
Then, at the very end of this neck, you'll add what's called the headstock. This is the part at the top where the strings would be tightened. On this headstock, you can put six small circular shapes in a neat row. These represent the tuning pegs, the little knobs that help keep the strings in tune. It's these small pieces that really start to make your guitar picture feel complete, you know, giving it all its bits and pieces.
Below the main sound-making part of the guitar's body, you'll want to put in a small, square-like shape. This is for the bridge. The bridge is a really important piece on a real guitar because it holds the strings up and helps the sound travel through the instrument. Even in a simple picture, putting this piece in helps to give your guitar drawing a sense of realism and purpose, which is quite nice.
Are There Different Ways to Approach a Guitar Drawing?
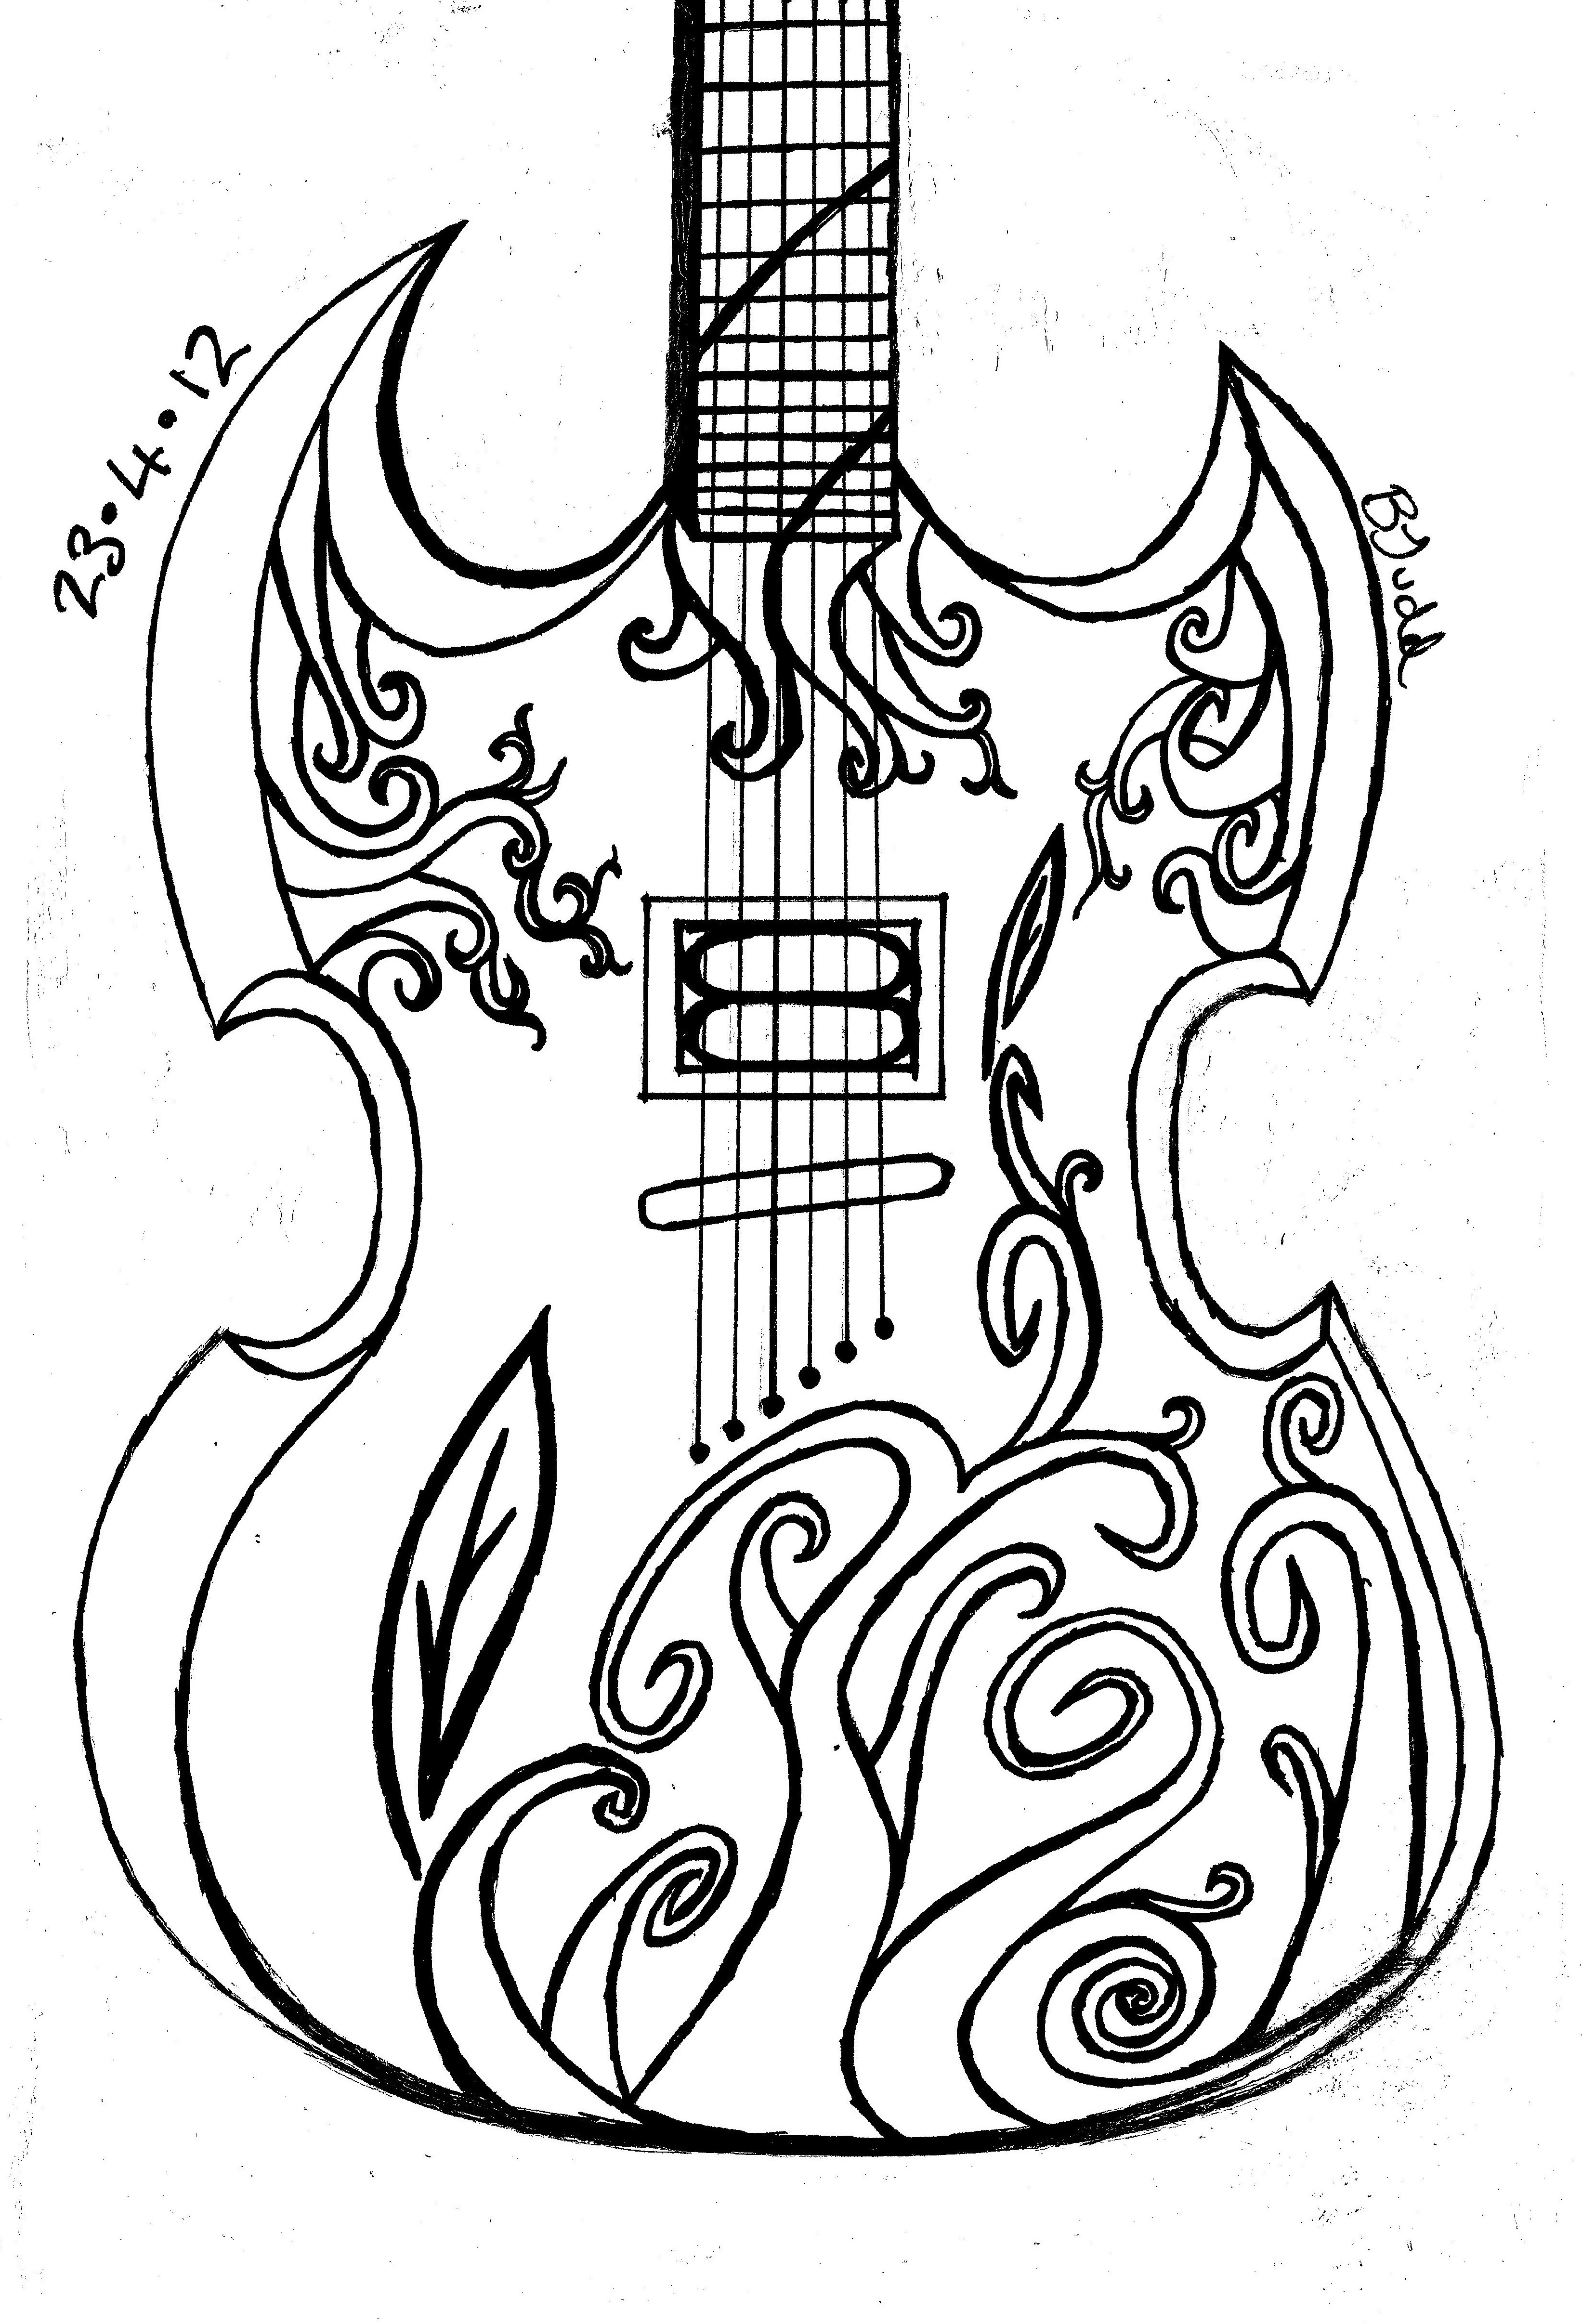
Yes, there are a few ways you can think about drawing a guitar, depending on the kind of instrument you want to show. For instance, if you are making a picture of an acoustic guitar, like the kind often played around a campfire, you'll focus on that big, hollow body and the sound hole. But if you want to make a picture of an electric guitar, there are a few extra pieces you might want to include, so.
For an electric guitar picture, after you have the body, neck, and headstock in place, you'll want to put in the pickups. These are the small, often rectangular parts that sit on the body, just under where the strings would be. They are what help an electric guitar make its sound when it's plugged in. You might also add a tailpiece, which is another piece that helps hold the strings in place, typically near the bottom of the body.
The main idea is that pretty much anything you might want to make a picture of can be made simpler by breaking it down into basic shapes. This is especially true for something like a guitar, which at first glance might seem a bit complicated, but really, it's just a collection of familiar forms put together in a certain way. This approach makes the whole process much less intimidating, you know, just a little easier to get started.
Making Your Guitar Drawing Truly Yours
What Makes a Guitar Drawing Fun to Create?
Making a picture of a guitar can be a truly enjoyable and satisfying activity, whether you're just starting out with art or you've been putting pictures down on paper for a while. Guitars themselves, with their lovely sounds, have a very special look. Capturing that on paper can feel like a small victory, a moment of real creative expression. It's a chance to put your own spin on a classic form, so.
One of the things that makes this kind of picture-making so pleasant is how easy it is to get going. You don't need a lot of special tools, just a pencil and some paper, maybe an eraser. And the steps are pretty straightforward. Following a guide, like this one, makes the whole thing feel less like a chore and more like a relaxed activity. It's about letting your hand flow and seeing what you can bring to life, you know.
Once you have the basic outline of your guitar, you can start to add finer touches. You might want to put in some lines for the frets on the neck, or maybe add some light and shadow to give your picture more depth. These small additions can really make your guitar drawing pop, giving it a more finished and polished appearance. It's where your personal touch really begins to show, actually.
Remember, the most important part of making any picture, especially a guitar drawing, is to enjoy the journey. Find what inspires you about guitars, perhaps the way they look, or the music they make, and let that feeling guide your hand. There's no single "right" way to make a picture; it's about what feels good to you and what makes you happy with your creation. Just keep putting those lines down, and you'll be surprised at what you can make, really.
Whether you're making a quick outline or adding lots of small pieces, the goal is to have a good time with it. You can even try to make a picture of a guitar that you particularly like, maybe one that belongs to a musician you admire. That personal connection can make the whole activity even more meaningful, and you might find yourself spending more time on it than you thought, which is pretty cool.

How to Draw an Acoustic Guitar: 15 Steps (with Pictures) - wikiHow
Guitar Drawing Easy at GetDrawings | Free download
Step-by-Step: How to Draw a Guitar - FeltMagnet
